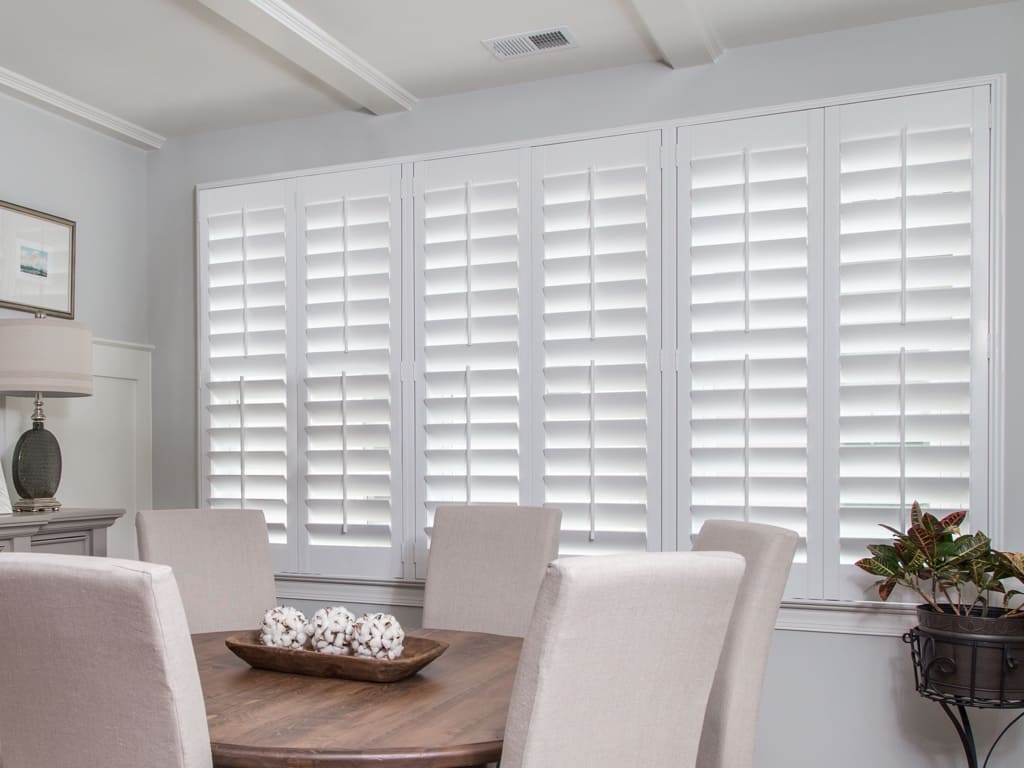
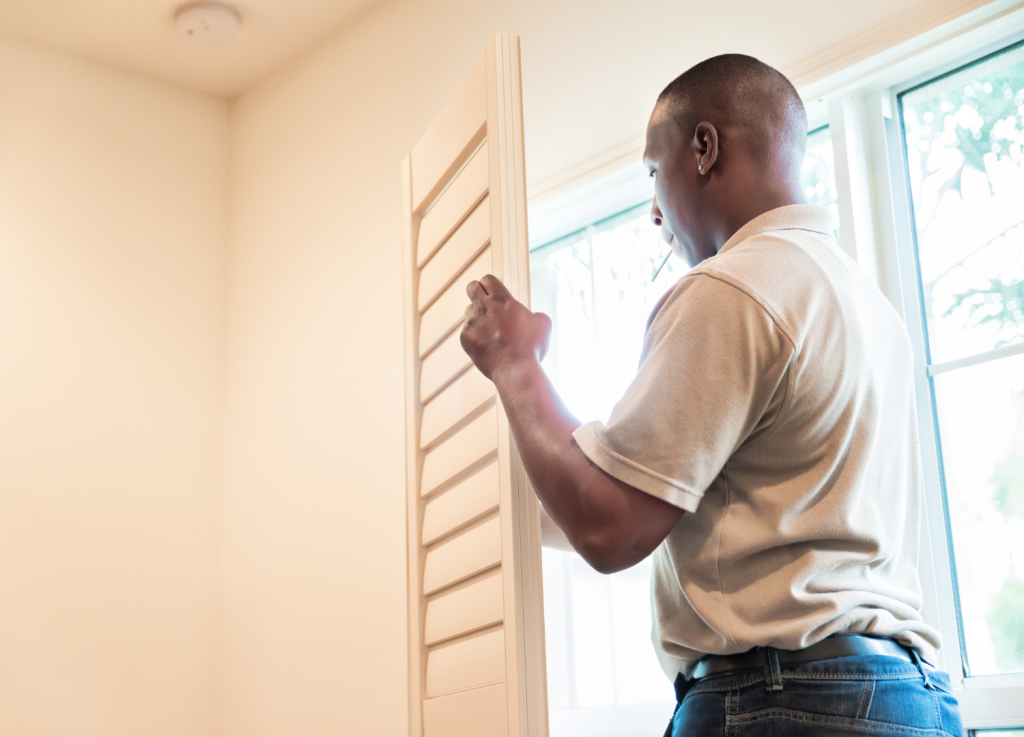
Any window treatment, including the installation of plantation shutter panels, can have a transformative effect on your home. The right shutters, curtains, blinds, or drapes can affect your mood, reduce your energy bill, and allow you to relax in your home without having to worry about:
nosy neighbours
street noise
glare from direct sunlight through the window
Before you decide on any particular window treatment, talk with a design specialist about how plantation shutters add to your home’s attractiveness and quality of life. A small initial investment in quality plantation shutter installation can pay off for years.
We hope you find this article helpful. Feel free to ask Hampton Shutters if you have any questions about plantation shutters in Perth.
What Are Plantation Shutters?
Plantation shutters are shutters with panels that have wide slats called louvres. Typically the slats are at an angle to permit airflow while preventing direct observation of the interior from the outside and blocking sunlight.

Components needed for the installation of Plantation Shutters
A plantation shutter kit or a custom set of shutters will include the shutter panels, the shutter frame, screws for holding the shutters and frames in place, and hinges that allow the shutters to open and shut.
Additionally, you should have each of the following on hand:
A second person will help you steady the shutters and parts of the shutter frame while installing your shutters.
A spirit level to position and align the frames and panels to each other and in the proper shape, typically square or rectangular.
A step ladder to reach the top of the window frame and the shutter frame once you install it.
A power drill, ideally a cordless drill, if you need to drill holes in the frames.
A screwdriver if you need to screw fasteners in by hand.
A caulking gun so that you can fix any gaps between the bottom edge of the shutter frame and the window frame that let in unwanted light.
A drop cloth to catch any screws, hinges, or brackets that might fall and protect your floors from primer and paint.
How Much Time Does It Take To Install Plantation Shutters?
The time you will need for plantation shutter installation depends on what sort of shutters you have, how you want them installed, and the resources you plan to devote to the project.
Do-It-Yourself Installation of Plantation Shutters
One economical approach to installing plantation shutters is to buy components and install plantation shutters yourself. Many online guides offer easy installation. In some cases, you can purchase shutter panels with pre-drilled holes. For simple window styles, you might be able to put up your shutters in only a few hours.
Installation of Off-the-Shelf Plantation Shutters
Even a straightforward installation of shutters you bought from the store is a multi-step process that requires planning and attention to detail at each step. It’s a good idea to go over the steps and visualise them before you buy a DIY plantation shutter kit.
Preparing for Installation
Before installing your shutters, check that you have all the screws, hinges, hinge pins, and other equipment that should be present in the DIY kit. You should also find white stickers to cover screw holes unless your kit includes prepainted screw caps that match the colour of the shutter frame.
Assembling the Shutter Panels
The panel could consist of a panel door or a series of louvres that attach to the shutter frame.
Unless you have preassembled frames, you will have to attach the louvres or doors to the shutter frame.
Use a cordless drill or manual screwdriver to pre-drill holes in the sides of the panel for the louvres. Use two screws for each louvre, one for the right side and the other for the left side.
If you use tension screws to attach the louvres, drill completely through the side of the panel so that the screws can enter from the outer edge. If your louvres use pins, drill partway through the panel and insert the louvre pins into the drill holes.
If you plan on painting your shutter panels, don’t forget to use a primer before painting and wait for the paint to dry before attaching the shutter panels to the hinges.
Putting the Shutter Frame Together
The shutter frame consists of the top rail, bottom rail, and vertical pieces called stiles. For wooden shutter frames, you can use wood glue to attach the rails to the stiles at the corners. Lay the securely attached frame parts on a flat surface and allow the glue to dry before proceeding.
Use your cordless drill to attach between four and six screws to the shutter doors and the shutter panel, two top screws, and two bottom screws at the corners. For taller panels, add two screws at the mid-level.
Make sure that the frame is the right shape for the shutter panel. You should be able to insert panels into the shutter frame.
Adding T-Posts
If you have wide shutter frames, you might need to support the frames with T-posts that attach to the bottom and the top of the frame. Use T-post brackets and screws to mount the T-post onto the stiles.
Mount the Shutter Frame Within the Window Frame
You can use a particular mounting bracket called a Z-frame to attach to the window frame. The Z shape allows one part of the frame to attach to the frame while the rest of the Z protrudes in front of the frame. The placement of the shutter frame allows the shutters to open fully without contacting the frame.
It is a good idea not to drill the screws in too tightly. The shutter frame is supposed to be able to move slightly relative to the window frame to prevent it from undergoing stress when the wood in the house expands and contracts.
If your installation includes multiple panels, mount them to the frame from left to right and check the alignment by inspecting the panels and using the spirit level.
Attaching the Shutter Panels to the Frame
The hinges attach the panels to the frame. Lay down the frame and crew each hinge to the shutter frame and the shutter panel with hinge screws so that the panel properly aligns within the window frame.
If the shutter panels are slightly out of alignment, you can use shims or hinge packers to adjust the position of each shutter panel slightly relative to the shutter frame. Insert the hinge pins and gently tap them into place.
Adding Finishing Touches
Once you have finished installing the shutters and made sure they are in place, clean the work area carefully, removing any dust. Place white stickers over the screw holes to conceal them and give your plantation shutters a smooth look.
If your shutter frame includes an attached lock, position it carefully and use screws to secure it according to the manufacturer’s instructions.
Installation of Custom Plantation Shutters
Depending on your situation, DIY plantation shutter installation could be a money-saving idea or a headache. Before you decide to install shutters, ask yourself a few questions:
Do you want an inside mount or an outside mount?
Are you experienced with home improvement projects?
Do your windows have multiple tiers or panels?
How much money do you have to spend on your window upgrade project?
Factors That Affect Installation Time for Plantation Shutters
Simple, preassembled shutter kits with pre-drilled holes might take only an afternoon to assemble. Installation can take a little longer if you need to wait for wood glue and paint to dry.
If you want custom plantation shutters, prepare for a completely different timescale. Having a consultation with a professional interior designer about your plantation shutters and waiting for them to arrive could take a month or two. You will also have to make an appointment with a contractor to install the custom plantation shutters.
The Benefits of Custom Plantation Shutters
If you can plan ahead and are willing to spend money to have custom shutters installed professionally, you can save yourself time and effort.
Control of Your Interior Environment
When you design plantation shutters yourself, you can choose every element, including:
the type of wood
the thickness of louvres or shutter doors
angle and adjustability of louvres
complex designs that incorporate different materials
personalised inscriptions or images on each louvre or panel
Shutter Panels That Match Your Aesthetic Vision
Custom design can include carved design elements that complement the rest of the room or present a unique look when viewed from outside the house.
Shutter Frames and Panels That Match Any Size Window
If you have large windows or windows that don’t match the usual sizes found in big-box stores, consider custom shutter panels.
Picture windows, bay windows, and other large window types require wider shutters and a wider shutter frame. Additional supports, such as T-posts, reduce weight on each hinge and prevent wear.
Benefit From a Professional Consultation
You might not know from the outset what type of plantation shutters are best for you, but don’t worry. By talking with an experienced design consultant and expert on plantation shutter installation, you can better understand the options available and your goals for the project.
Avoid Installation Mistakes
Choosing customised shutters will avoid some of the pitfalls associated with DIY construction, such as:
Using the wrong screw type
Misaligning the holes in the panel where the louvres attach
Trying to lift something by yourself and injuring your back
Using the wrong screw, bracket, or drill bit
Avoid having to fix mistakes or re-do elements of your plantation shutter installation by having a professional technician take care of the process. If there are any problems with your new plantation shutters during the warranty period, the technician will fix them at no cost.
Get the Perfect Shutter for You From Hampton Shutters
Hampton Shutters sells many sizes and styles of shutter panels, hinges, louvres, screws, and other components from top manufacturers. Visit our website to discover more about plantation shutter installation and the experiences of our happy customers.
Call us at 0416 592 057 to learn more about the range of window products at Hampton Shutters.


